Introduction
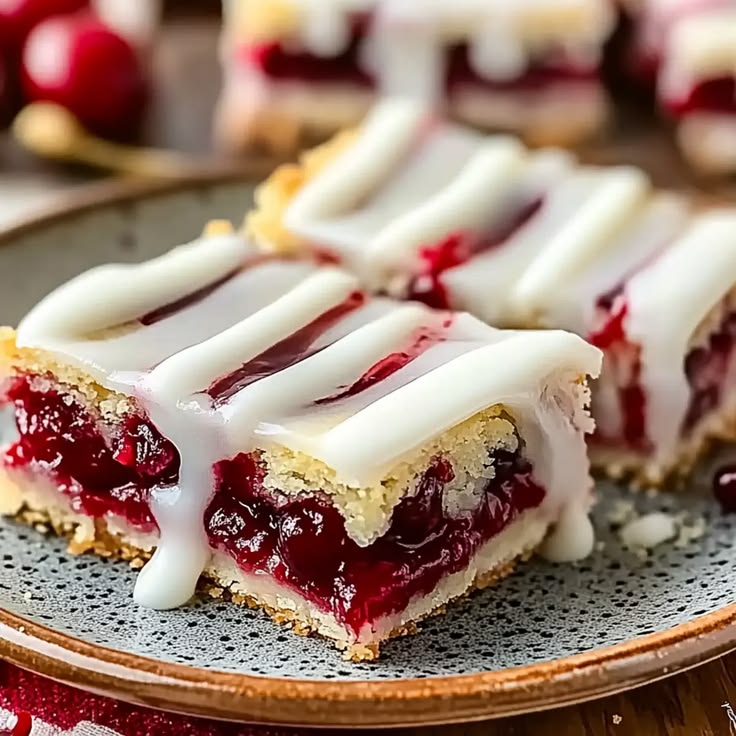
Cherry Pie Bars are a wonderful dessert when you want the sweet, comforting taste of cherry pie without the extra work of making a traditional pie. They have a soft, buttery crust, a rich cherry filling, and a light drizzle of glaze on top. These bars are easy to slice, simple to serve, and perfect for family gatherings, holidays, or an everyday treat.
If you love desserts that feel homemade and special but don’t take hours to prepare, this recipe is for you. Even beginner bakers can make Cherry Pie Bars with confidence. The steps are simple, and the results are always delicious.
Cooking Time & Prep Time
- Prep Time: 20 minutes
- Baking Time: 35–40 minutes
- Cooling Time: 1 hour (important for clean slices)
- Total Time: About 2 hours
Ingredients
Here is everything you need to make these tasty bars:
- 1 cup (225 g) unsalted butter, softened
- 2 cups (400 g) granulated sugar
- 4 large eggs
- 1 teaspoon vanilla extract
- 3 cups (375 g) all-purpose flour
- 1 teaspoon salt
- ½ teaspoon baking powder
- 1 can (21 oz / 595 g) cherry pie filling
- Optional: ½ teaspoon almond extract (adds extra flavor)
For the Glaze:
- 1 cup (120 g) powdered sugar
- 2–3 tablespoons milk
- ½ teaspoon vanilla extract
Step-by-Step Instructions
Step 1: Prepare Your Baking Dish
Preheat your oven to 350°F (175°C).
Grease a 9×13-inch baking pan or line it with parchment paper. This helps remove the bars easily later.
Step 2: Cream the Butter and Sugar
In a large mixing bowl, beat the softened butter and sugar together until the mixture is light and fluffy.
This step adds air to the batter, making the bars soft.
Step 3: Add Eggs and Vanilla
Add the eggs one at a time, mixing well after each one.
Stir in the vanilla extract (and almond extract if using). The batter should look smooth and creamy.
Step 4: Mix the Dry Ingredients
In a separate bowl, whisk together:
- Flour
- Salt
- Baking powder
Slowly add this dry mixture into the wet mixture. Stir until fully combined. Do not overmix. Overmixing can make the bars dense.
Step 5: Create the Bottom Layer
Spread about two-thirds of the batter evenly into your prepared pan.
Use a spatula to smooth the surface.
Step 6: Add the Cherry Filling
Spoon the cherry pie filling over the batter. Spread it gently so it covers the surface evenly.
Step 7: Add the Top Layer
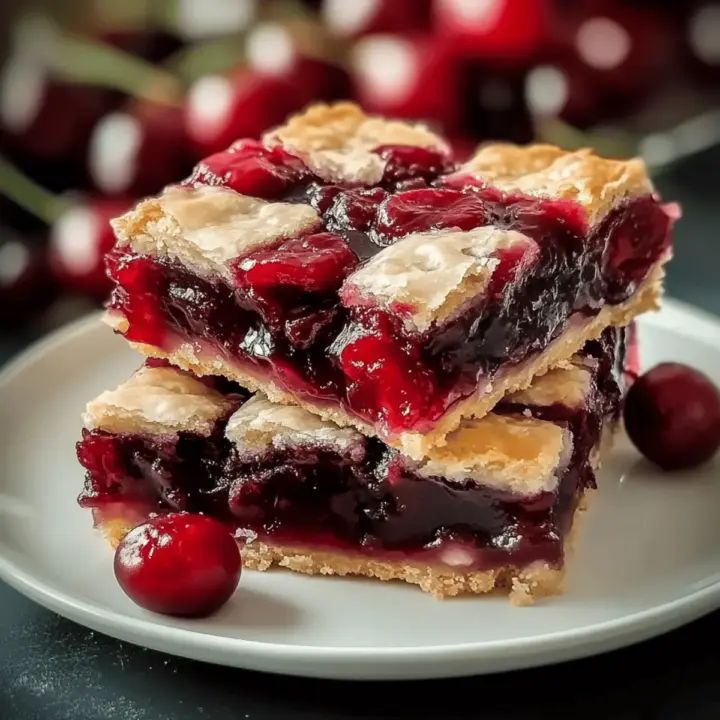
Drop small spoonfuls of the remaining batter over the cherry layer.
Do not worry about covering everything. The gaps allow the cherry filling to show through beautifully.
Step 8: Bake
Bake for 35–40 minutes, or until the top is golden brown and set.
A toothpick inserted into the cake part should come out clean.
Step 9: Cool Completely
Let the bars cool in the pan for at least 1 hour.
This step is very important. Cutting too early can make them fall apart.
Step 10: Add the Glaze
Whisk powdered sugar, milk, and vanilla together until smooth.
Drizzle lightly over the cooled bars.
Step 11: Slice and Serve
Cut into squares or rectangles and enjoy!
Tips & Variations
Use Different Fruits:
You can replace cherry filling with blueberry, apple, raspberry, or peach.
Make It Less Sweet:
Use unsweetened fruit filling or reduce the glaze.
Add Texture:
Sprinkle sliced almonds or oats on top before baking.
Gluten-Free Option:
Use a 1:1 gluten-free flour blend. Make sure it contains xanthan gum for structure.
Dairy-Free Version:
Substitute butter with plant-based butter and use almond or oat milk for the glaze.
Extra Flavor Tip:
A little lemon zest added to the batter brightens the taste.
For Cleaner Slices:
Chill the bars for 20 minutes before cutting.
Nutritional Information (Approximate per Serving)
Based on 16 servings:
- Calories: 320
- Carbohydrates: 45 g
- Protein: 3 g
- Fat: 14 g
- Sugar: 28 g
- Fiber: 1 g
These values can vary depending on ingredients used.
Health Benefits
While Cherry Pie Bars are a dessert, they still offer some benefits when enjoyed in moderation.
Cherries Contain Antioxidants:
Cherries are rich in compounds that help protect the body from damage caused by stress and pollution.
Mood-Boosting Treat:
Enjoying a homemade dessert can bring comfort and happiness, especially when shared.
Energy Source:
The carbohydrates provide quick energy, making these bars great for celebrations or active days.
Control Over Ingredients:
Homemade desserts allow you to reduce sugar, choose better fats, or adjust for dietary needs.
Serving Suggestions
- Serve slightly warm with a scoop of vanilla ice cream.
- Pair with tea or coffee for a relaxing afternoon snack.
- Dust lightly with powdered sugar for an elegant look.
- Cut into small squares for parties or potlucks.
Storage Tips:
- Store in an airtight container at room temperature for up to 2 days.
- Refrigerate for up to 5 days for longer freshness.
- Freeze for up to 3 months. Thaw at room temperature before serving.
Conclusion
Cherry Pie Bars are the perfect mix of easy baking and classic comfort food. They give you all the flavor of cherry pie in a simple, sliceable dessert that anyone can make. Whether you are baking for family, friends, or just yourself, these bars are sure to bring smiles.
Try this recipe once, and it may become one of your favorite go-to desserts. Share it with loved ones, experiment with flavors, and enjoy the sweet reward of homemade baking!
Helpful Cooking Tools
Cherry Pie Bars
Introduction Cherry Pie Bars are a wonderful dessert when you want the sweet, comforting taste of cherry pie without the extra work of making a traditional pie. They have a...