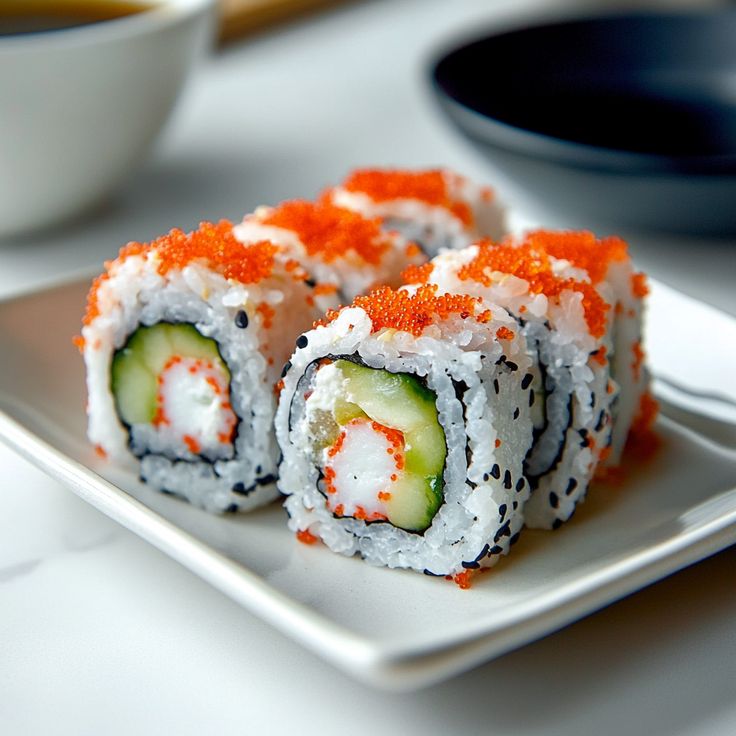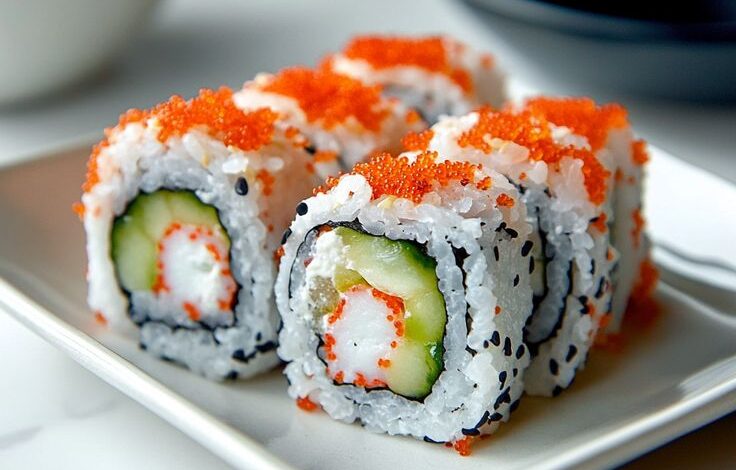
There’s something truly magical about making sushi at home. It’s not just the art of rolling fish and vegetables into perfect little bites—it’s the foundation beneath it all: the rice. Sushi rice isn’t just any rice; it’s tender, slightly sticky, subtly sweet, and perfectly seasoned with a gentle balance of vinegar, sugar, and salt. Getting it right can feel a little like a comforting ritual, connecting us to centuries of culinary tradition in Japan while bringing the joy of homemade meals to your own kitchen.
I remember the first time I tried making sushi rice at home. I was nervous—rice can be tricky, after all—but the moment I lifted the lid off the pot, inhaling that warm, tangy aroma, I felt an instant sense of accomplishment. It’s simple in ingredients but demands a little patience and care, and the payoff is a base that turns any roll, nigiri, or bowl into something special. Today, I’m going to walk you through the process step by step, so you can enjoy sushi rice that’s fluffy, flavorful, and a little magical, too.
Prep and Cooking Time
- Prep Time: 10 minutes
- Cooking Time: 25 minutes
- Total Time: 35 minutes
Ingredients
- 2 cups Japanese short-grain rice (also labeled sushi rice)
- 2 1/2 cups cold water
- 1/3 cup rice vinegar
- 3 tablespoons granulated sugar
- 1 teaspoon salt
Optional tools: fine-mesh sieve, rice paddle or wooden spoon, a large shallow bowl for cooling.
Step-by-Step Instructions
1. Rinse the Rice
Place your rice in a fine-mesh sieve or large bowl. Rinse under cold water, gently swirling the grains with your fingers. Drain, then repeat 3–4 times, until the water runs nearly clear.
Why this matters: Washing away excess starch prevents the rice from becoming gummy while giving it that slightly sticky texture perfect for sushi. Don’t skip this step—it’s the secret to fluffy, separate grains that still hold together.
2. Soak the Rice
Transfer the rinsed rice to a pot and cover with cold water. Let it soak for 20–30 minutes.
Tip: Soaking helps the rice absorb water evenly, ensuring consistent cooking and a soft, tender bite.
3. Cook the Rice
Bring the rice and water to a boil over medium heat. Once boiling, reduce the heat to low, cover, and simmer for 15 minutes. Then, turn off the heat and let the rice sit, covered, for an additional 10 minutes.
Pro tip: Resist the urge to lift the lid while it’s cooking. Steam is what finishes the rice, and lifting the lid can let it escape.
4. Prepare the Sushi Vinegar
While the rice is cooking, mix the rice vinegar, sugar, and salt in a small saucepan. Heat gently over low heat, stirring until the sugar and salt dissolve completely. Do not boil—just warm enough to dissolve.
5. Season the Rice
Transfer the cooked rice to a large shallow bowl (a wooden bowl called a hangiri works beautifully if you have one). Slowly pour the sushi vinegar over the rice, gently folding with a rice paddle or wooden spoon. Avoid stirring aggressively; the goal is to coat the grains without smashing them.
Tip: As you fold, fan the rice to cool it slightly. This creates a shiny finish and enhances the texture.
6. Let It Rest
Cover the rice with a clean, damp kitchen towel to keep it moist while it cools. Let it rest for 10–15 minutes before using in sushi rolls, nigiri, or rice bowls.
Tips, Tricks, and Substitutions
- Rice type matters: Only use Japanese short-grain rice for true sushi texture. Medium or long-grain rice won’t stick properly.
- Vinegar variations: If you like a sweeter rice, add a little more sugar. For a tangier punch, slightly increase the vinegar.
- No rice vinegar? You can substitute apple cider vinegar or white wine vinegar in a pinch, but the flavor will be slightly different.
- Avoid overmixing: Treat the rice gently. Overmixing can break the grains and make it mushy.
Variations to Try
- Spicy Sushi Rice: Add a teaspoon of sriracha or chili paste to the vinegar mixture before folding into the rice.
- Vegetarian Sushi Bowls: Mix in finely chopped vegetables like carrots, cucumber, or avocado for a quick rice bowl.
- Fruity Twist: For dessert sushi, lightly fold in small bits of mango or pineapple with a hint of honey.
Serving Suggestions
Sushi rice is the perfect canvas. Use it for:
- Maki rolls: Wrap in nori with your favorite fillings.
- Nigiri: Shape into small ovals and top with fish or tofu.
- Rice bowls: Layer with veggies, proteins, or pickles for a quick, satisfying meal.
Pair with soy sauce, pickled ginger, and a drizzle of sesame oil for that authentic touch.
Nutrition (per 1 cup cooked)
- Calories: ~240
- Protein: 4g
- Carbohydrates: 53g
- Fat: 0.5g
Health perks: Sushi rice is naturally gluten-free, low in fat, and a great source of energy. Rice vinegar adds a subtle tang while aiding digestion, and the gentle seasoning keeps it light and wholesome.
Storage and Reheating
- Short-term: Store in an airtight container in the fridge for up to 2 days.
- Reheating: Sprinkle a few drops of water over the rice, cover, and microwave gently to restore moisture.
- Freezing: Not recommended, as freezing can affect texture, making the rice too dry or mushy when thawed.
Final Thoughts
Making sushi rice at home is such a rewarding little ritual. With a few simple ingredients, a little patience, and these tips, you can create rice that’s tender, sticky, and perfectly seasoned—a foundation for endless sushi adventures. So, grab your pot, some short-grain rice, and let the cozy aroma fill your kitchen. Share it with family, get creative with your rolls, and most importantly, enjoy every bite. Once you master this base, you’ll never look at sushi the same way again—it starts here, with the rice.
Helpful Cooking Tools
Sushi Rice
There’s something truly magical about making sushi at home. It’s not just the art of rolling fish and vegetables into perfect little bites—it’s the foundation beneath it all: the rice....