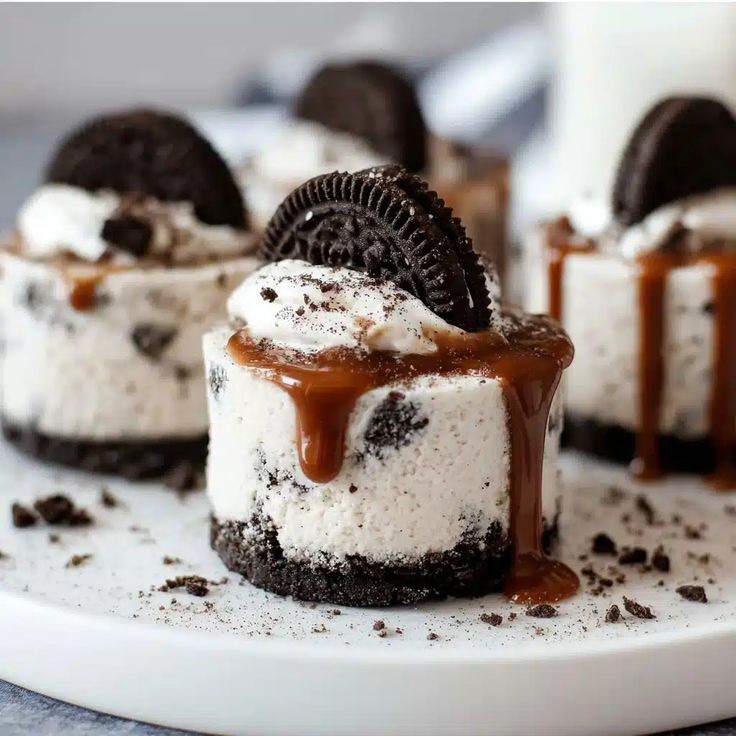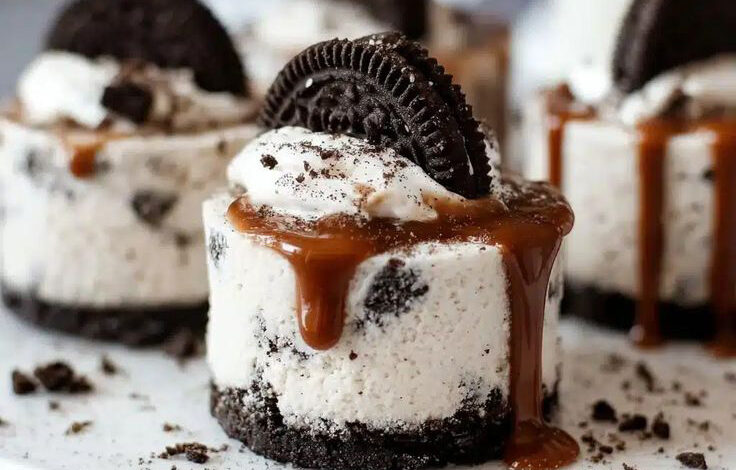
There’s something deeply comforting about Oreo desserts. Maybe it’s the way those black-and-white cookies showed up at birthday parties, after-school snacks, or late-night fridge raids. Or maybe it’s just that unmistakable chocolate crunch paired with sweet cream that feels instantly familiar. These Mini No-Bake Oreo Cheesecakes wrap all that nostalgia into a little dessert cup that feels special without being complicated.
I love no-bake desserts because they feel like a small act of kindness to yourself. No oven to preheat, no worrying about cracks or water baths—just a bowl, a spoon, and a little patience while the fridge does the work. These mini cheesecakes are creamy, rich, and perfectly portioned. They’re the kind of treat you make for guests but secretly hope there will be extras left for the next day.
Whether you’re making dessert for a family gathering, a holiday tray, or just a cozy night in, this recipe fits right in. Let’s get into it.
Prep Time & Chill Time
Prep Time: 20 minutes
Chill Time: 3–4 hours (or overnight for best texture)
Total Time: About 4 hours
Servings: 12 mini cheesecakes
Ingredients
For the Oreo crust:
- 20 Oreo cookies (filling included)
- 4 tablespoons unsalted butter, melted
For the cheesecake filling:
- 8 ounces cream cheese, softened
- ½ cup powdered sugar
- 1 teaspoon vanilla extract
- 1 cup heavy whipping cream, cold
- 8 Oreo cookies, chopped
For topping (optional but recommended):
- 6–8 Oreo cookies, crushed or halved
- Whipped cream
Step-by-Step Instructions
1. Make the crust
Start by crushing the Oreos into fine crumbs. You can use a food processor or place them in a zip-top bag and crush them with a rolling pin. Stir the crumbs with melted butter until they look like wet sand. This step matters because evenly coated crumbs help the crust hold together.
Press about 1½ tablespoons of the mixture firmly into the bottom of each lined muffin cup. Use the back of a spoon or a small glass to press it down. Don’t rush this—packing the crust tightly keeps it from crumbling later. Place the pan in the fridge while you make the filling.
2. Whip the cream
In a cold bowl, whip the heavy cream until stiff peaks form. This gives the cheesecake its light, airy texture. Set it aside in the fridge. Keeping it cold helps it hold its shape.
3. Mix the cheesecake base
In another bowl, beat the softened cream cheese until smooth and creamy. Add the powdered sugar and vanilla, mixing until fully combined. Take a moment to scrape down the sides—this helps avoid little lumps.
4. Fold, don’t stir
Gently fold the whipped cream into the cream cheese mixture. Go slow and use a light hand. Folding keeps the filling fluffy instead of dense. Once combined, fold in the chopped Oreos for little pockets of crunch.
5. Assemble and chill
Spoon the filling over the chilled crusts, filling each cup almost to the top. Smooth the tops lightly, then add your Oreo toppings if using. Refrigerate for at least 3–4 hours, or overnight if you can wait. This chill time is what helps everything set beautifully.
Tips, Tricks & Common Mistakes
- Soft cream cheese is key. Cold cream cheese leads to lumps. Let it sit at room temperature for 30 minutes before starting.
- Don’t overmix. Once the whipped cream is folded in, stop mixing. Overworking it can deflate the filling.
- Line your pan. Cupcake liners make removal easy and keep the cheesecakes neat.
Easy Variations
- Mint Oreo version: Use Mint Oreos and add ¼ teaspoon peppermint extract to the filling.
- Peanut butter swirl: Swirl ¼ cup melted peanut butter into the filling before chilling.
- Chocolate lovers: Drizzle melted chocolate over the tops before serving.
- Strawberry Oreo: Add finely chopped fresh strawberries and use Golden Oreos for the crust.
Serving Suggestions
Serve these mini cheesecakes chilled, straight from the fridge. They pair beautifully with hot coffee, cold milk, or even a scoop of vanilla ice cream on the side. For parties, arrange them on a dessert platter with fresh berries—it instantly makes them feel bakery-worthy.
Approximate Nutrition (per mini cheesecake)
- Calories: ~280
- Protein: 4g
- Carbohydrates: 22g
- Fat: 20g
Why they’re satisfying:
Cream cheese provides calcium and protein, while Oreos bring that comforting indulgence. These are treats meant to be enjoyed slowly and happily—balance, not perfection.
Storage & Make-Ahead Tips
Store leftovers in an airtight container in the refrigerator for up to 4 days. These cheesecakes also freeze well—just wrap them tightly and freeze for up to 1 month. Thaw in the fridge overnight before serving. They’re perfect for making ahead when life gets busy.
A Sweet Final Note
These Mini No-Bake Oreo Cheesecakes are proof that dessert doesn’t have to be complicated to be special. They’re creamy, nostalgic, and just plain fun to make. Whether you’re sharing them with loved ones or enjoying one quietly with a cup of tea, I hope they bring a little extra sweetness to your day. If you try them, don’t be surprised if they become a regular request in your kitchen.
Helpful Cooking Tools
Mini No-Bake Oreo Cheesecakes
There’s something deeply comforting about Oreo desserts. Maybe it’s the way those black-and-white cookies showed up at birthday parties, after-school snacks, or late-night fridge raids. Or maybe it’s just that...