Introduction
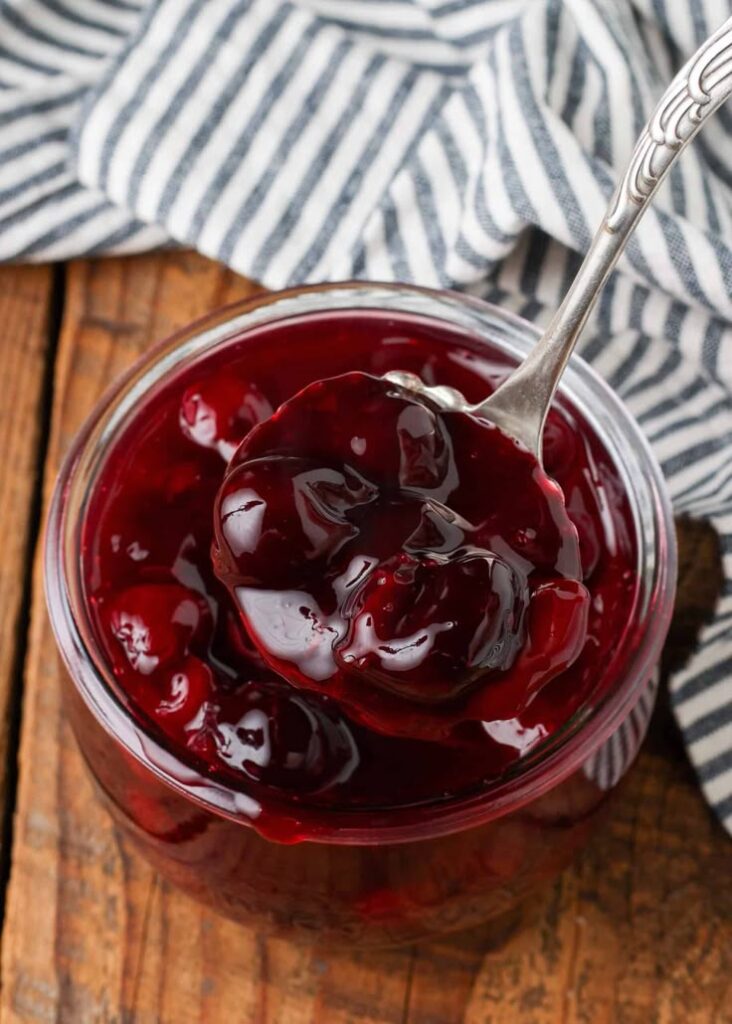
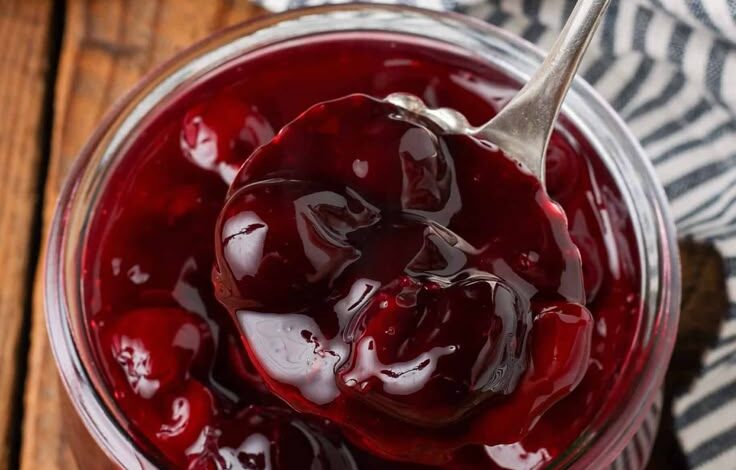
Homemade Cherry Pie Filling is sweet, fruity, and full of rich cherry flavor. It tastes fresh and bright, with just the right balance of sweetness and gentle tartness. Once you try making it at home, you may never want to go back to store-bought filling again.
What makes homemade cherry pie filling special is how simple it is. You only need a few basic ingredients, and the cooking time is short. There are no artificial colors, no strange flavors, and no preservatives. You control the sweetness, thickness, and taste, which makes a big difference.
This recipe is perfect for beginners. It uses easy steps and common kitchen tools. You can use this filling for pies, tarts, cheesecakes, pancakes, or even yogurt and ice cream. It is a versatile recipe that belongs in every home baker’s kitchen.
Cooking Time & Prep Time
- Prep Time: 10–15 minutes
- Cooking Time: 10–15 minutes
- Cooling Time: 15 minutes
- Total Time: About 40–45 minutes
Small tip: Have all ingredients ready before you start cooking. The filling thickens quickly.
Ingredients
For Homemade Cherry Pie Filling
- 4 cups cherries, pitted (fresh or frozen)
- ¾ cup sugar (adjust to taste)
- ¼ cup water
- 2 tablespoons cornstarch
- 1 tablespoon lemon juice
- 1 teaspoon vanilla extract
- ¼ teaspoon almond extract (optional)
- A pinch of salt
Small tip: Sour cherries give a classic pie flavor, but sweet cherries work well too.
Step-by-Step Instructions
Step 1: Prepare the Cherries
Wash the cherries if using fresh ones. Remove the pits and stems. If using frozen cherries, thaw them slightly and drain excess liquid.
Place the cherries in a medium saucepan.
Step 2: Mix the Thickener
In a small bowl, whisk together the cornstarch and water until smooth. This helps prevent lumps in the filling.
Set it aside.
Step 3: Cook the Cherries
Place the saucepan with cherries over medium heat. Add sugar, lemon juice, and salt. Stir gently as the cherries begin to release their juices.
Cook for about 5–7 minutes until the cherries soften and the mixture begins to simmer.
Small tip: Stir gently to avoid breaking the cherries too much.
Step 4: Thicken the Filling
Slowly pour the cornstarch mixture into the simmering cherries while stirring constantly. Continue to cook for 2–3 minutes.
The filling will thicken and become glossy. Lower the heat if it thickens too fast.
Step 5: Add Flavor
Remove the pan from heat. Stir in vanilla extract and almond extract if using. These add warmth and depth to the flavor.
Taste the filling and adjust sweetness if needed.
Step 6: Cool the Filling
Let the cherry pie filling cool for at least 15 minutes. It will thicken more as it cools.
Once cooled, it is ready to use or store.
Small tip: Warm filling is easier to spread, but cooled filling holds its shape better.
Tips & Variations
- Less sweet: Reduce sugar or use honey or maple syrup.
- Extra thick: Add an extra teaspoon of cornstarch.
- No cornstarch: Use arrowroot powder instead.
- Vegan: This recipe is naturally vegan.
- Gluten-free: Cornstarch makes it gluten-free.
- Spiced version: Add a pinch of cinnamon or nutmeg.
- Chunky style: Leave cherries whole for more texture.
- Smooth style: Mash some cherries while cooking.
Small tip: Always dissolve cornstarch in liquid before adding to avoid lumps.
Nutritional Information (Approximate per Serving)
- Calories: 140–160
- Protein: 1 gram
- Carbohydrates: 36–40 grams
- Fat: 0 grams
- Fiber: 2–3 grams
Values may vary depending on sugar amount and cherry type.
Health Benefits
Cherries are rich in antioxidants, which help protect the body from damage. They are known to support heart health and reduce inflammation. Cherries also contain vitamin C, which helps support the immune system.
Making cherry pie filling at home allows you to control the sugar level. This makes it a healthier option compared to many canned fillings that contain added preservatives and artificial colors.
Using simple ingredients means you get pure fruit flavor with fewer processed additives. When enjoyed in moderation, this filling can be part of a balanced diet.
Serving Suggestions
Homemade Cherry Pie Filling is very versatile. Use it as a filling for pies, turnovers, or tarts. Spoon it over cheesecake, pancakes, waffles, or oatmeal for extra flavor.
It also tastes great over ice cream, yogurt, or pound cake. You can even swirl it into smoothies or layer it in parfaits.
Store leftovers in an airtight container in the refrigerator for up to 5 days. You can also freeze it for up to 3 months.
Small tip: Let frozen filling thaw in the fridge overnight for best texture.
Conclusion
Homemade Cherry Pie Filling is simple, fresh, and full of real fruit flavor. It takes very little time to make and can be used in many delicious ways. Once you try it, you will see how much better homemade can be.
Whether you are baking a pie, topping a dessert, or just enjoying a spoonful, this recipe is a great one to keep on hand. Give it a try, adjust it to your taste, and share the sweetness with family or friends.
Helpful Cooking Tools
Homemade Cherry Pie Filling
Introduction Homemade Cherry Pie Filling is sweet, fruity, and full of rich cherry flavor. It tastes fresh and bright, with just the right balance of sweetness and gentle tartness. Once...